Installation Requirements
Before You Begin: Professional installation by a certified technician is strongly recommended for all automotive lifts. Improper installation can result in equipment failure, property damage, or serious injury.
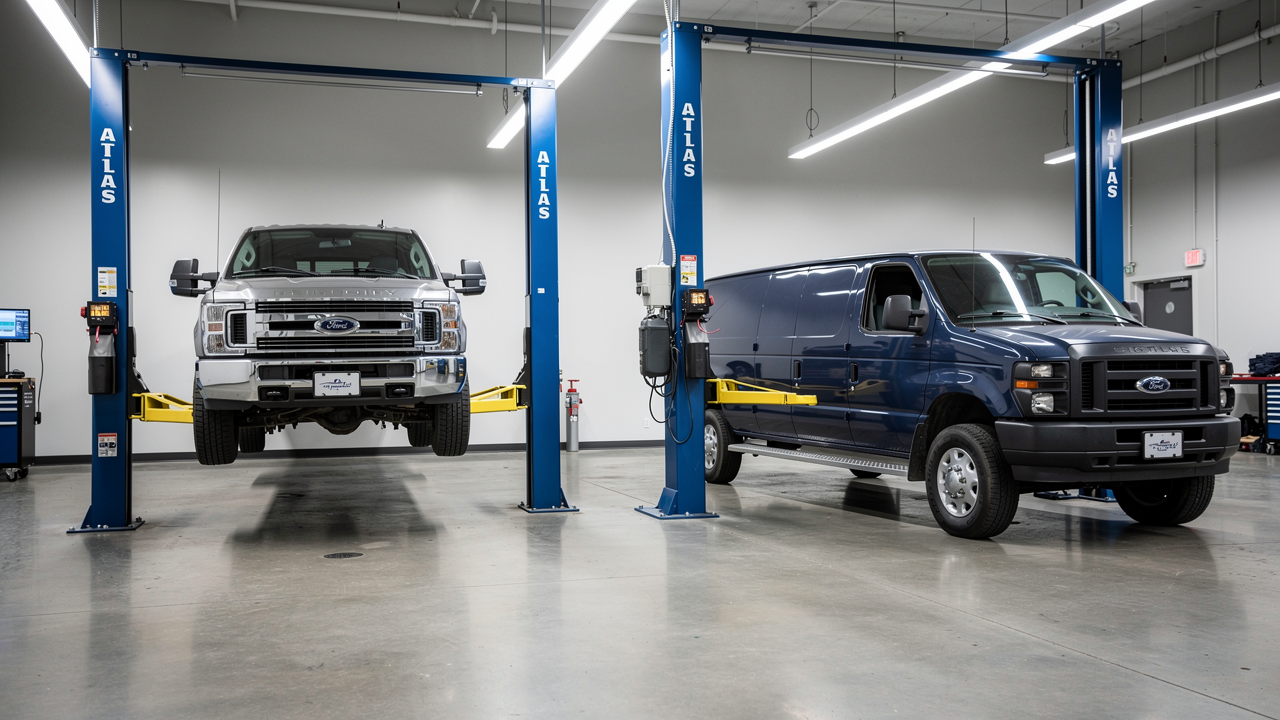
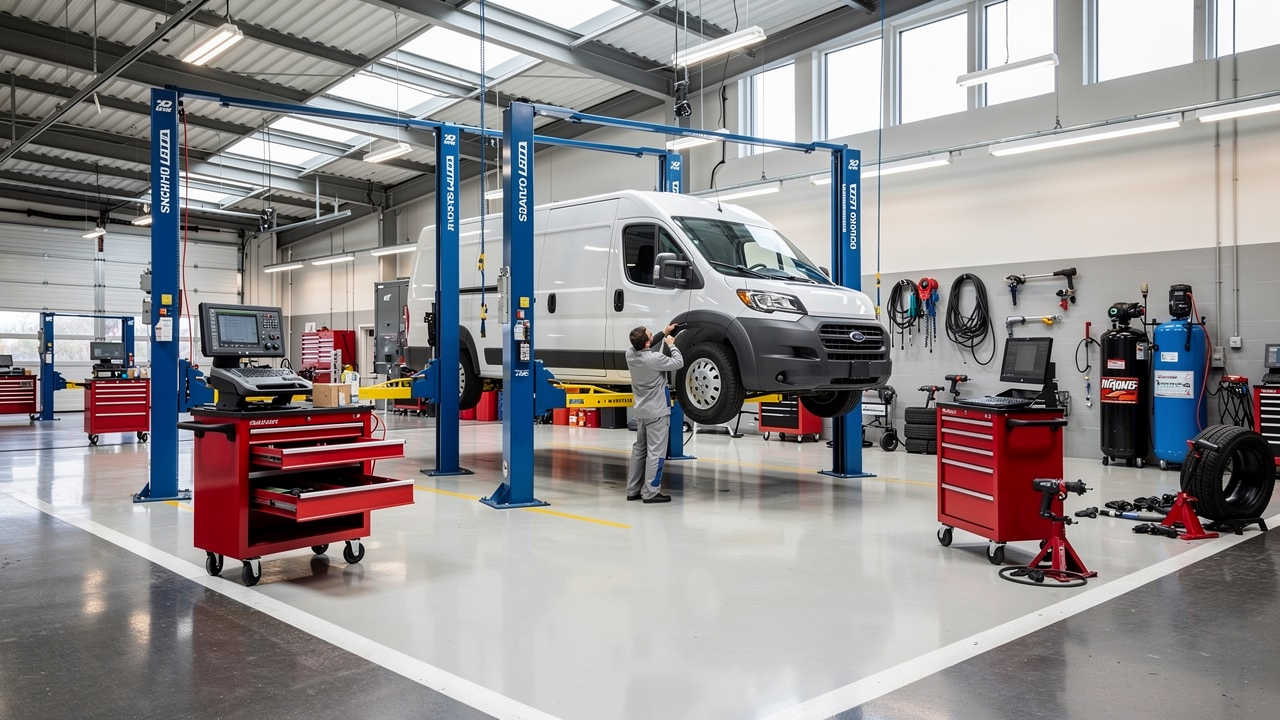
Facility Requirements
- Ceiling Height: Minimum 11 feet from floor to lowest overhead obstruction
- Floor Thickness: Minimum 4 inches of reinforced concrete (5 inches recommended for heavy commercial use)
- Floor Condition: Level, crack-free, cured concrete at least 28 days old
- Operating Space: Clear area of at least 12 feet wide × 24 feet long
Electrical Requirements
- 220V, 60Hz, single-phase power supply
- Dedicated 20-amp circuit breaker
- GFCI protection recommended but not required
- Electrical work must be performed by licensed electrician per local code
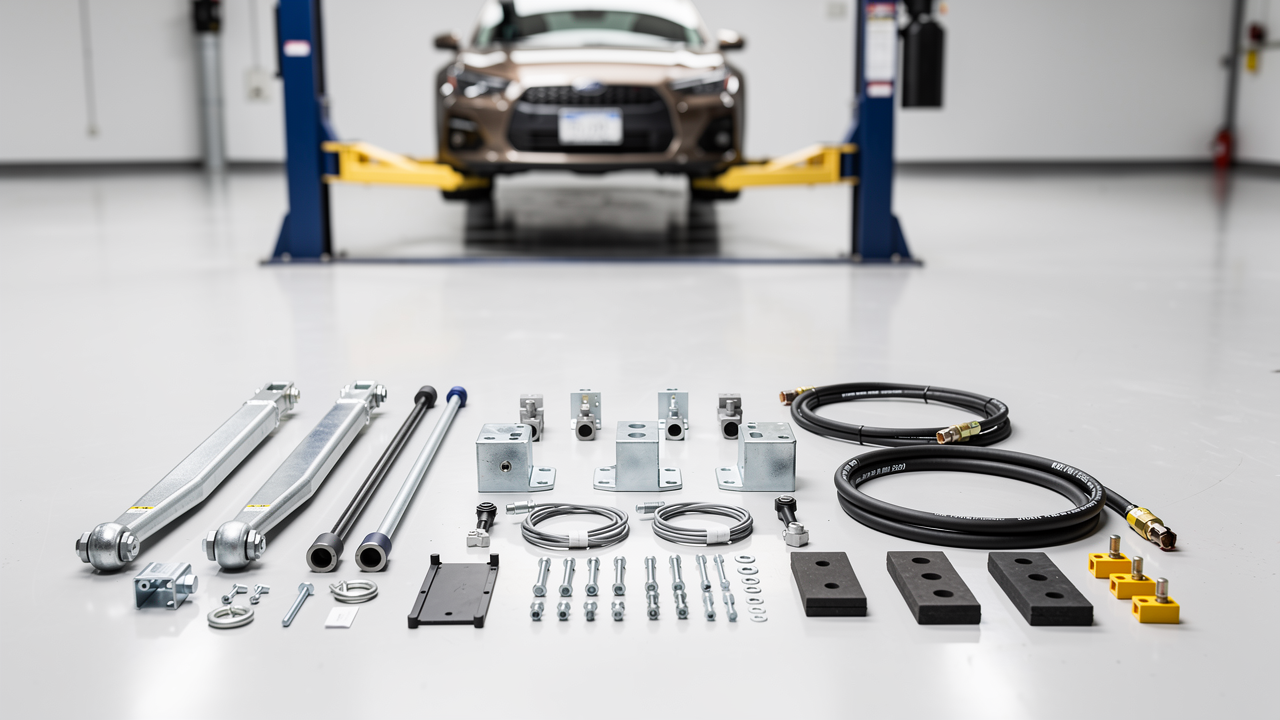
Installation Process Overview
Step 1 — Foundation Preparation: Mark anchor bolt locations using the provided template. Drill anchor holes to specified depth (typically 5 inches for wedge anchors). Clean holes thoroughly with compressed air.
Step 2 — Column Assembly: Assemble both columns according to the manual. Install cable routing system and safety locks. Do not fully tighten column bolts until lift is positioned.
Step 3 — Positioning & Anchoring: Position columns at correct width spacing (consult manual for your specific model). Level columns using shims if necessary. Install and torque anchor bolts to specification (typically 80-100 ft-lbs).
Step 4 — Arm Installation: Attach swing arms to columns. Install arm restraints and pad adapters. Verify full range of motion and proper clearances.
Step 5 — Hydraulic System: Connect hydraulic lines, power unit, and safety valve. Fill reservoir with ISO 32 hydraulic oil to specified level. Bleed air from system per manual instructions.
Step 6 — Electrical Connection: Run conduit from power source to lift motor. Connect motor leads per wiring diagram. Install control pendant and emergency stop button.
Step 7 — Testing & Calibration: Perform no-load cycle test (5 full up/down cycles). Test safety locks at multiple positions. Load test with known weight (typically 50% capacity). Verify even lifting and proper synchronization.
First Use Checklist
- Inspect all bolts and connections — re-torque if necessary
- Check hydraulic oil level (should be at upper mark when lift is fully lowered)
- Test all safety systems including locks and emergency stop
- Review operating manual safety procedures with all users
- Schedule 30-day post-installation inspection
Maintenance Schedule: Daily visual inspection, weekly safety lock test, monthly cable inspection, quarterly hydraulic fluid check, annual professional inspection recommended.